Radiator
Withdrawal
Remove the negative terminal from the battery. On engines with a carburetor, remove the engine air intake.
Drain the coolant from the cooling system. Remove the radiator cooling fan. Raise the front of the car and secure it on stands. Remove the clamps and disconnect the hoses from the radiator and expansion tank (see fig. 3.21, 3.22).
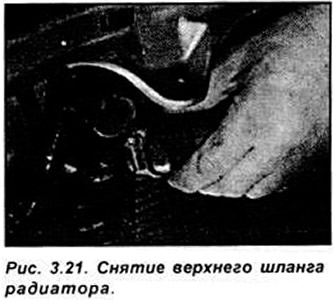
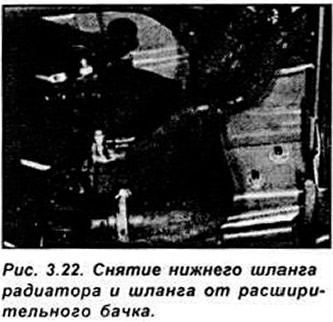
On later models, remove the wheel arch liners from each side.
If equipped, disconnect the transmission fluid cooler pipes from the radiator. If equipped with an air conditioner, remove the mudguard, unscrew the three nuts and separate the air conditioner condenser from the reflector on the side of the radiator (see fig. 3.23, 3.24).
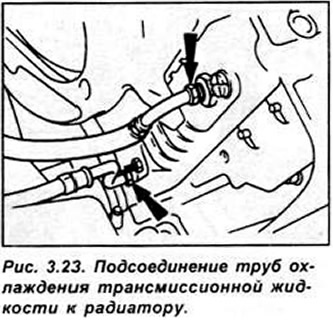
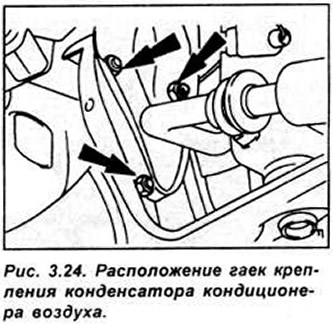
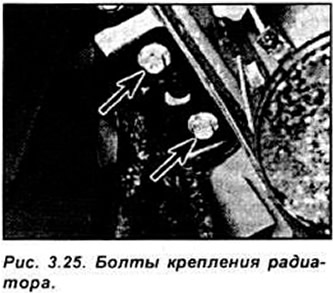
Unscrew the bolts securing the lower part of the radiator and remove the radiator from under the car (see fig. 3.25).
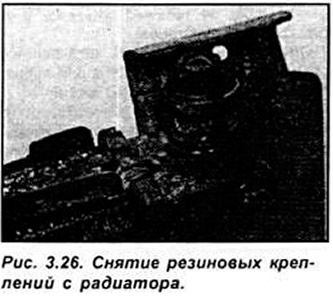
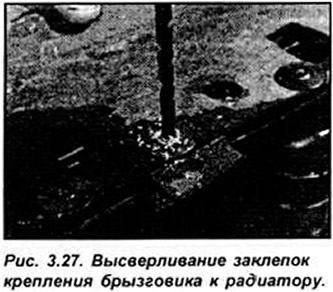
Remove the rubber mounts, side reflectors, and bottom mount from the radiator. If necessary, separate the mudguard from the radiator by unscrewing 6 mounting bolts or drilling 6 rivets (see fig. 3.26, 3.27).
Check the condition of the radiator and, if necessary, flush it with clean water.
Rinse the outside of the radiator with clean water and a soft brush.
Installation
Installation is done in sequence. reverse withdrawal.
Expansion tank
Withdrawal
Partially drain the coolant from the cooling system so that the coolant level is below the expansion tank.
Remove the brake booster reservoir from the side of the expansion tank and move it to the side as far as the hoses allow. Clamp the coolant hoses that go to the expansion tank. Remove the hoses from the expansion tank.
Unscrew the two screws and remove the expansion tank from the inside of the wing.
Installation
Installation is done in sequence. Reverse removal Add coolant to the cooling system.
Visitor comments