Disassembly
NOTE: 40/20 split seatback shown.
1. Remove the headrest (And).
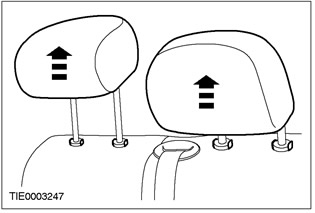
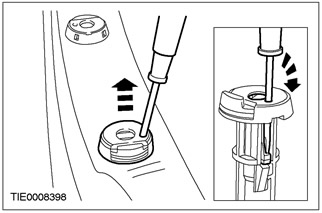
2. Remove the headrest guides.
- Using a suitable screwdriver, press the locking tab.
3. Fold the 20% section of the seat back forward.
4. Remove the rear panel from the 20% section of the seatback.
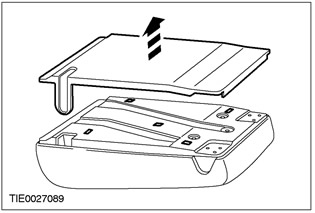
5. Remove the 20% section of the seatback.
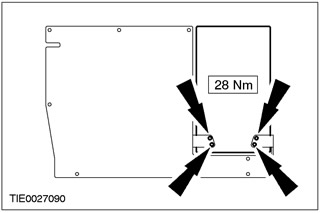
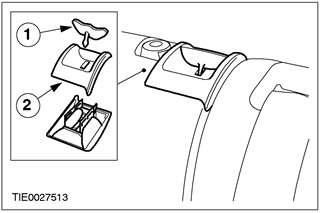
6. Remove the lock lever and trim panel for the 20% seatback section.
- 1. Remove the lever.
- 2. Remove the trim panel.
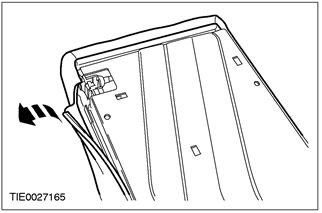
7. Detach the seatback 20% section cover from the seatback.
- Detach the fastening strip.
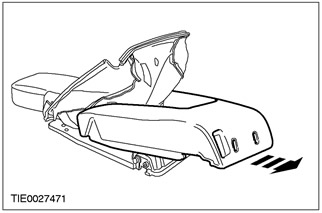
8. Remove the foam pad.
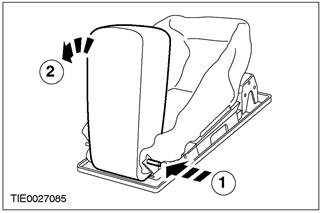
9. Remove the center armrest.
- 1. Press the movable shaft.
- 2. Rotate the armrest counterclockwise.
10. Remove the seatback 20% section cover.
- Detach the fastening strips.
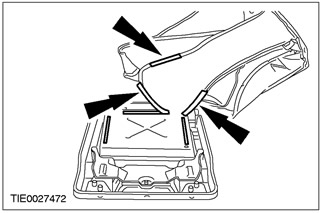
11. Remove the latch of the 20% section of the seatback.
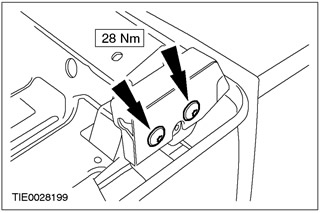
12. Remove the hinges of the 20% section of the seat back.
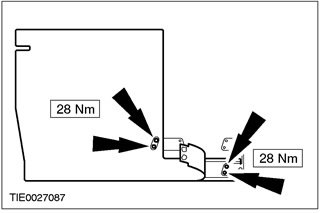
13. Remove the seat back 20% section mat.
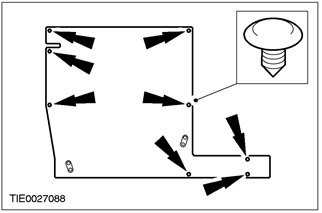
14. Detach the seatback 40% section cover from the seatback.
- Detach the fastening strip.
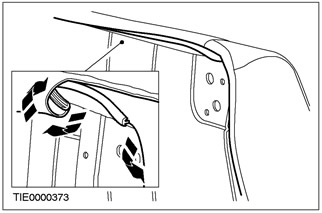
15. Disconnect the seatback 40% section cover from the seatback lock button.
- Remove the lock button trim panel.
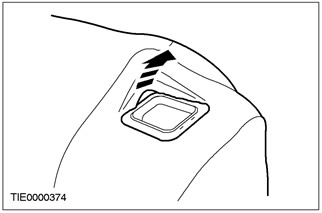
16.
NOTE: Locking the latch on the 40% seatback section allows the seatbelt to be moved when the seatback is in the normal upright position.
Lock the latch on the seat back.
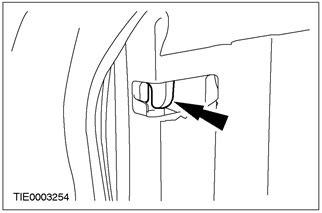
17.
WARNING: Make sure that the band stopper is installed at least 200mm from the band stopper towards the seat belt retractor.
Install the seat belt anchor.
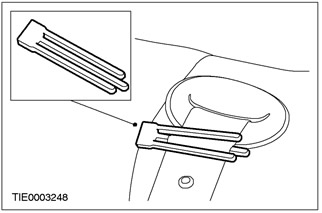
18. Remove the seat belt tape trim panel.
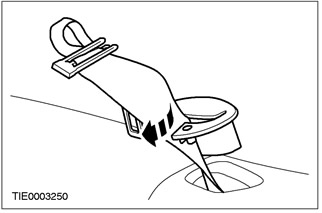
19.
CAUTION: When removing the seat belt webbing, be careful not to detach the webbing retainer.
Remove the cover and foam padding from the 40% section of the seat back.
- Pass the seat belt webbing through the seat back cover.
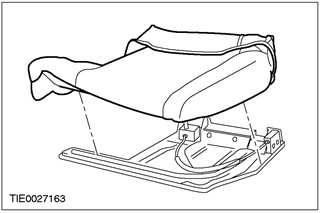
20. Remove the cover of the 40% section of the seat back.
- 1. Roll the seatback cover inward to access the curved rings.
- 2. Cut the bent rings.
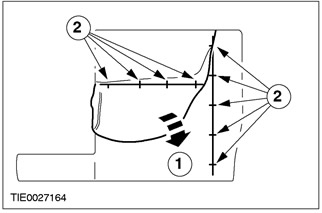
Assembly
1.
WARNING: If the seat belt retracts beyond the stopper installed on the belt, a new seat belt retractor must be installed.
CAUTION: Make sure the ribbon stopper is installed at least 200mm away from the ribbon stopper towards the retract mechanism.
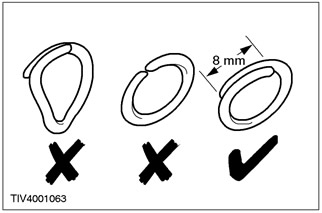
NOTE: Use bent ring pliers to close the bent rings. Do not use any other tools. Curved rings are required to be closed with an overlap, as shown in the figure.
Reinstall the elements in reverse order.
Visitor comments