1. Install the car on an inspection ditch. Disconnect the wire from the negative terminal of the battery.
2. Remove the refrigerant from the air conditioning system (see Removing Refrigerant from the Air Conditioning System).
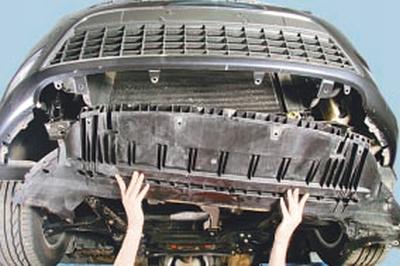
3. Remove the engine mudguard (see Removal and installation of mudguard and crankcase protection).
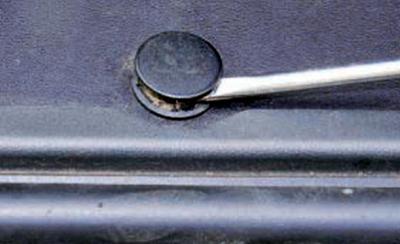
4. Pry off the clips with a screwdriver..
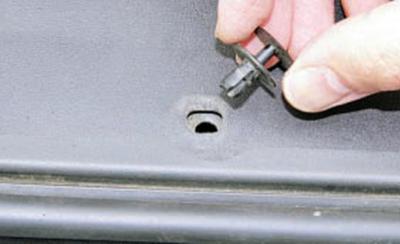
5.... and remove the caps for fastening the upper casing of the radiator lining.
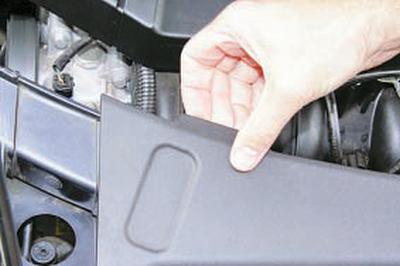
6. Pull up on the rear edge of the shroud..
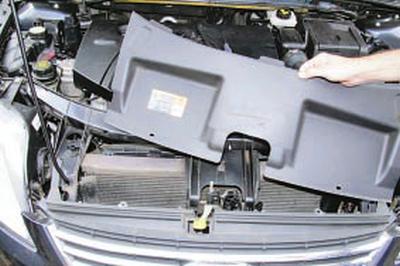
7….and remove the top cover.
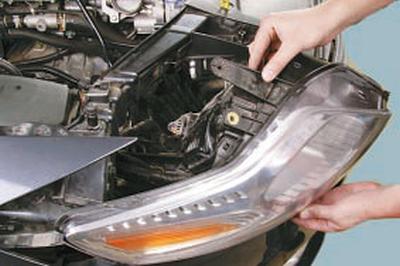
8. Remove the right headlight (see Headlight Replacement).
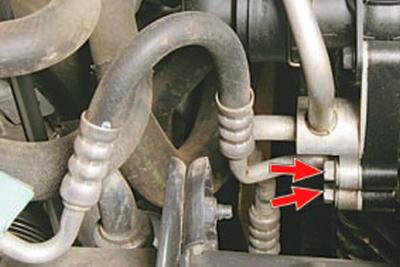
9. Turn out two bolts of fastening of flanges of pipelines of a high pressure to a condenser flange and disconnect pipelines.
WARNING: Immediately after disconnecting, plug the open ends of the piping to prevent dirt and moisture from entering the system.
Pay attention to the sealing rings of the flange connections of the pipelines.
During the repair of the system, when the pipelines are disconnected, the sealing rings must be replaced.
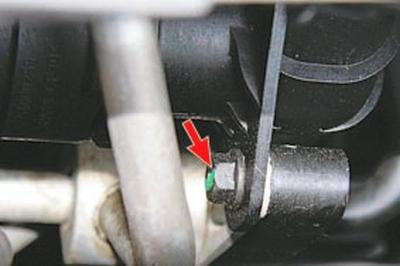
10. Turn out a bolt of fastening of a connecting flange of the condenser to an arm of a radiator.
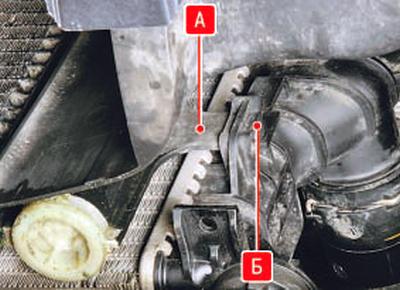
11. Move the condenser up until supports A come out of brackets B on the radiator tanks.
12. Remove the condenser by gently pulling it down.
13. Install the condenser in the reverse order of removal.
WARNING: Open the process plugs on the connection flange of a new condenser only immediately before connecting the piping.
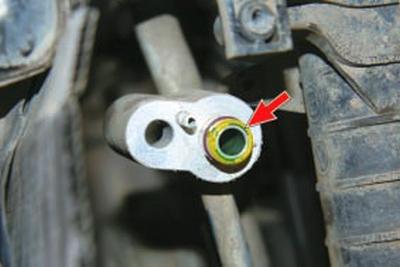
When installing new pipe flange O-rings, be sure to lubricate them with A/C compressor oil.
14. Charge the A/C system with refrigerant at a qualified automotive A/C service center.
Visitor comments