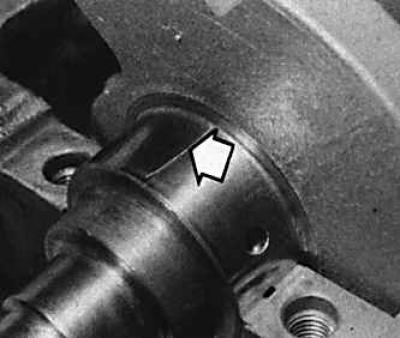
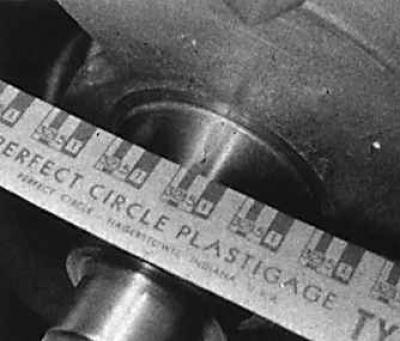
Proprietary Plastigage rod used to measure clearances in main and connecting rod bearings

Measuring the width of a Plastigage rod with a scale to determine the gap

With quality maintenance and regular oil and oil filter changes, bearings last a very long time. A sign of damage to the connecting rod bearings is a regular rhythmic loud knock from the crankshaft side. The frequency depends on the engine speed. Especially this knock is noticeable when the engine is running under load. This symptom is accompanied by a drop in oil pressure, although this is usually not noticeable unless an oil pressure switch is installed. Main bearing damage is usually indicated by a noticeable vibration, especially at high engine speeds, and this vibration is accompanied by a more significant drop in oil pressure and "rumbling" noise.
Bearing shells in good condition have a smooth, uniform matte silver gray color over the entire surface. Worn liners have patches of different colors where the metal has worn away and the backing has been exposed. Damaged earbuds have scratches or nicks. If the crankshaft itself is in good condition, then it is easy to solve the problem by purchasing another set of bearings of the same size. If the crankshaft is regrinded or replaced, the bearing shells must also be replaced during this operation.
The original crankshaft in the cylinder block may have a standard or first repair size, in the latter case, this is indicated by bearing caps that are marked with white paint.
On 2.8 dm3 engines, both main journals and connecting rod bearing journals are standard sizes only.
Existing bearing clearance can be checked using a proprietary tool, Plastigage rods. A piece of the Plastigage rod is located on the crankshaft journal, then the bearing shell and cover are assembled, the bolts and nuts are tightened to the torque indicated in subsection 3.3.1. After removing the cover, the width of the rod is measured with a scale bar, which indicates the size of the gap at the moment.
Visitor comments