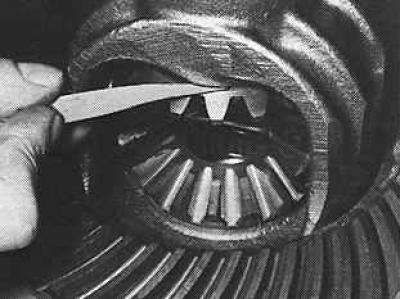
Measurement of the axial clearance between side gears and differential box

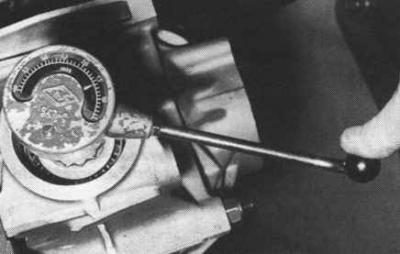
Measuring the moment of resistance of rotation of the final drive gear using a dynamometer 15.041 and a sleeve 15.073

1. Install flanges (see fig. Rear axle parts) differential box bearing clearance adjustment without O-rings.

2. Install oil-lubricated differential case bearings and replacement differential case.
3. Screw by hand the flanges for adjusting the clearance of the bearings of the differential box until they come into contact with the bearings and tighten the knurled nut for fixing the replacement box.
4. Rotate the substituting box many times to precisely position the bearing rollers.
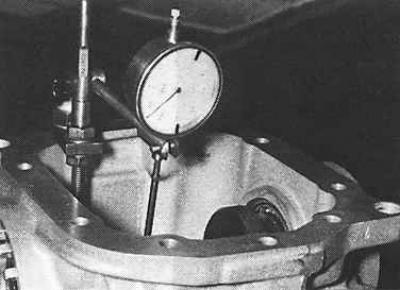
5. Install a dial indicator on the crankcase, and rest its measuring tip in the middle of the replacement box.
6. Perform one full turn of the replacement box and observe the indicator needle fluctuating.
7. Set the replacement box to a position in which the indicator needle is in the middle position between the extreme readings. Do not turn the replacement box any more.

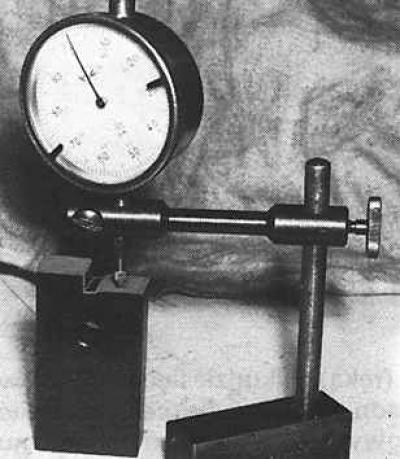
8. Install the dial indicator on the holder (fixture 15.008). Rest its measuring tip against the template of tool 15.075 and adjust the indicator. For bridge 7.5" use the bottom plane of the template, and for the bridge 7" - top plane.
9. Rest the indicator holder against the end of the final drive gear, and the measuring tip of the indicator against the middle of the replacement box.
10. Remove the difference from the distance set according to the template.
11. Adjust the measured distance by selecting the thickness of the gasket between the inner bearing of the drive gear and the final drive gear so that the deviation from the zero reading of the indicator is no more than 0.01 mm.
12. After tightening the gear bearing nut, it should be caulked.
13. Using tool 15.047 A, install a new O-ring for the final drive gear.
14. Install the main gear flange (for connection with the rear joint of the cardan shaft) and tighten the flange nut to the correct torque.
Visitor comments