Low beam and high beam bulbs
The bulbs for low and high beams, as well as side lights are accessible from the side of the engine compartment.
1. Remove the cover from the back of the headlight by turning it counterclockwise.
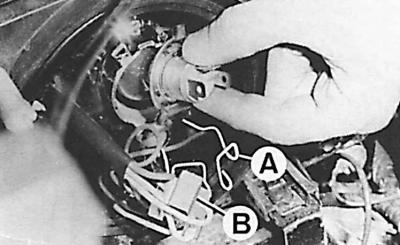
2. Disconnect electrical connector (IN).
3. Remove light bulb spring (A).
4. Turn the bulb holder counterclockwise and remove it from the headlight.
5. Replace light bulb.
6. Insert the bulb holder into the headlight socket and lock it by turning it to the right as far as it will go.
7. Install the mounting spring and wire connector.
8. Check the correct operation of the light bulb.
9. Attach the cover to the back of the headlight.
Attention! Do not touch the glass part of light bulbs, especially halogen bulbs, with your fingers. Otherwise, before installing the light bulb in the socket, it should be washed with an alcohol solution.
Parking lights
1. Remove the cover from the back of the headlight.
2. Remove bulb holder (under the low and high beam bulb holder).
3. Replace light bulb.
4. Insert the holder into the socket.
5. Make sure the bulb holder is securely fastened.
6. Check the installation and operation of the light bulb.
7. Attach the cover to the back of the headlight.
High beam headlight bulbs
Some versions of cars are equipped with high beam headlights with halogen bulbs.
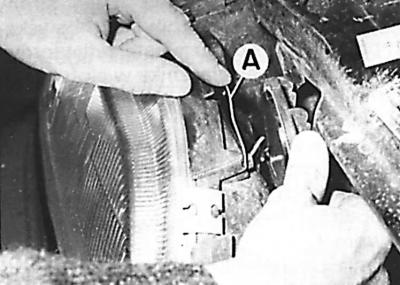
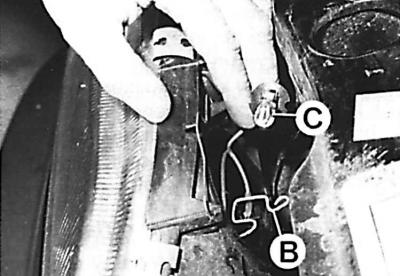
1. Remove brace (A) securing the cover and remove the headlight cover.
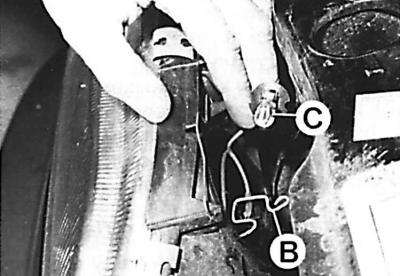
2. compress the spring (IN) fastening the light bulb and move it away. Remove light bulb (WITH).
3. Disconnect wire connector.
4. Connect the new light bulb to the electrical connector and insert it into the headlight.
5. Install the light bulb spring.
6. Install cover and mounting bracket.
Front direction indicators
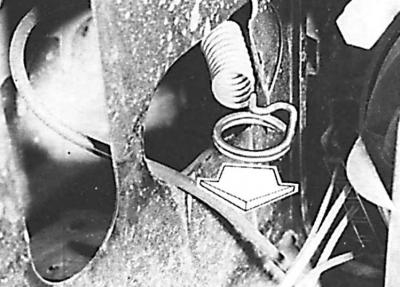
1. From the rear side of the bumper, push the fastening clip outward.
2. Remove the front turn signal bulb from the bumper; in the Ghia version, the front turn signal bulb is held by a lever located under the upper bumper mount, which must be pushed outward to remove the bulb.
3. Turn the front turn signal bulb holder to the left and remove it.
4. Press the bulb, turn it to the left and remove.
5. Install a new bulb in the holder by turning it to the right, and then fix the turn signal by performing the above steps in reverse order.
Back light
The tail light bulbs are located in a holder assembly accessible from inside the trunk.
Berlin and sedan vehicles
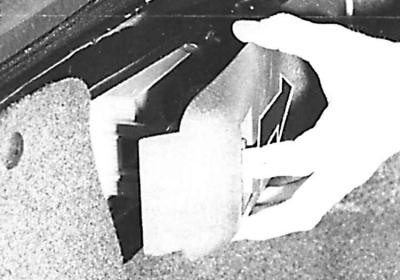
1. Remove the holder assembly by moving the fastening stop located at the end of this assembly.
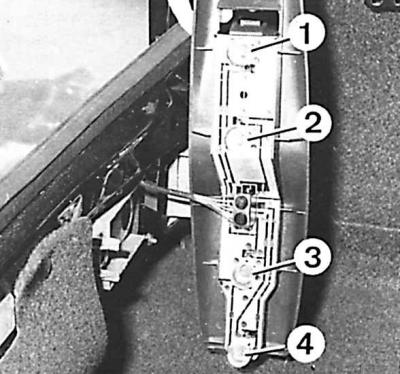
2. There are four bulbs in each holder assembly: Brake light (1), reversing lamp (2), parking light and rear fog lamp (3) and rear turn signal light (4).
3. Press the bulb to be replaced, turn it and remove it from the holder assembly.
4. Install the new bulb in the holder assembly, rotate it, and then press the holder assembly until the mounting stop locks.
Combi vehicles
1. After opening the trunk with a screwdriver, turn the retainer and remove the rear light cover.
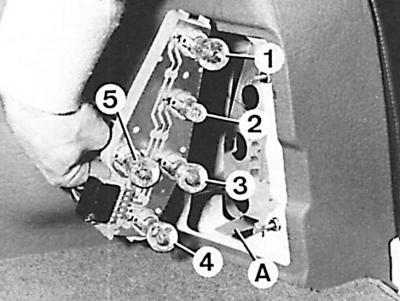
2. Push back the mounting plates of the holder assembly (A) and extract it. There are five bulbs in each holder assembly: reverse light (1), tail light bulb (2), rear turn signal bulb (3), rear fog light bulb (4), brake warning light (5).
3. Press the bulb to be replaced, turn it and remove it from the holder assembly.
4. Install the new light bulb in the holder assembly, rotate it, and then secure the holder assembly.
License plate lighting
1. Using a thin screwdriver, carefully pry the license plate light assembly from its socket in the rear bumper.
2. Turn to the left and remove the bulb holder.
3. Replace the light bulb that is pressed into the holder.
4. Install the bracket and secure the license plate light assembly to the rear bumper.
Trunk lighting
In some versions of the Berlin and Sedan body equipment, there is a trunk light bulb.
1. Using a screwdriver, carefully remove the bulb cover.
2. By turning the cartridge counterclockwise, remove it from the lamp shade, and then remove the light bulb from it.
Interior lamps
1. Setting the switch to the middle position (lamp off).
2. Using a screwdriver, remove the bulb holder, and then remove the bulb.
Visitor comments